- Introduction
- Before you start
- Step 1 — Create the PPAC environment
- Step 2 — Install the required Dynamics 365 apps
- Step 3 — Configure the Provisioning App
- Step 4 — Install and configure Visual Studio 2022
- Step 5 — Connect Visual Studio to the UDE environment
- Step 6 — Download and install the F&O extension and metadata
- Step 7 — Connect to your Git repository
- Step 8 — Deploy your models to the UDE
- Wrapping up
Introduction
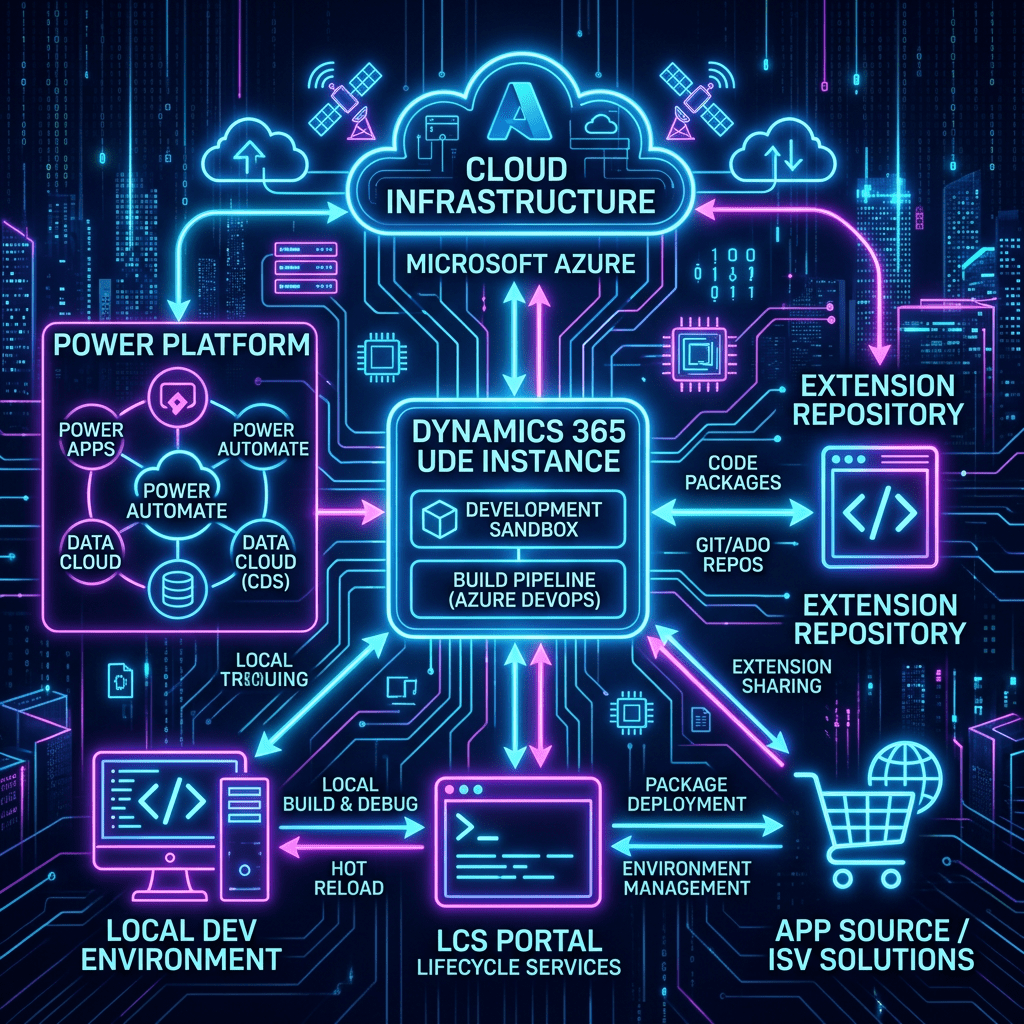
If you have spun up a Finance & Operations development box before, you know the old routine: a heavyweight VM, a long deployment, and a dev environment that lived apart from the rest of the Power Platform. The Unified Development Environment (UDE) changes that. It brings X++ development into the Power Platform fold — a Dataverse-backed, developer-enabled sandbox you connect to straight from Visual Studio 2022, with your source living in Git from day one.
This guide walks the full path end to end: creating the environment in the Power Platform admin center, installing the right apps, wiring up Visual Studio, pulling down the finance and operations metadata, connecting to Git, and finally deploying your models. Every stage is illustrated with screenshots from a working setup.
The big picture: You provision a Dataverse environment, install the Finance & Operations Platform Tools and Provisioning App, flip on developer tools, then connect Visual Studio 2022 to that sandbox. From there it is metadata, source control, and deployment — all from your local IDE.
Before you start
Line these up first and the rest of the setup flows without interruption:
- Access to the Power Platform admin center (PPAC).
- Licenses for the Dynamics 365 Finance and Operations Platform Tools and the Provisioning App.
- Permissions to install apps and create environments.
- Visual Studio 2022 Professional or Enterprise — installer and license.
- Access to the target Git repository.
Step 1 — Create the PPAC environment
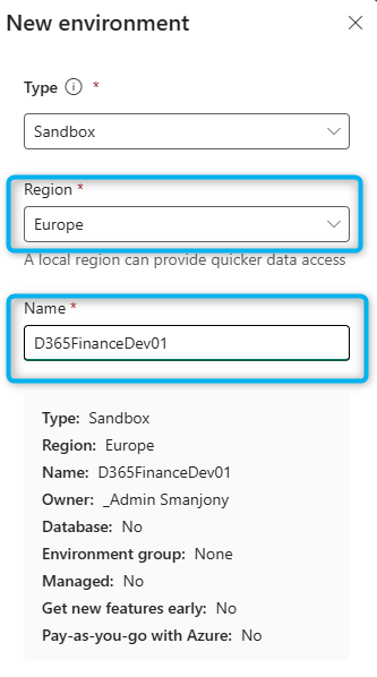
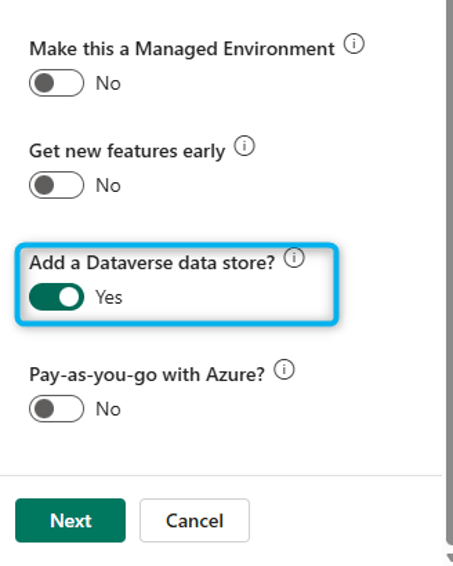
Sign in to the Power Platform admin center at admin.powerplatform.microsoft.com, then go to Manage → Environments and select New. Configure it as follows:
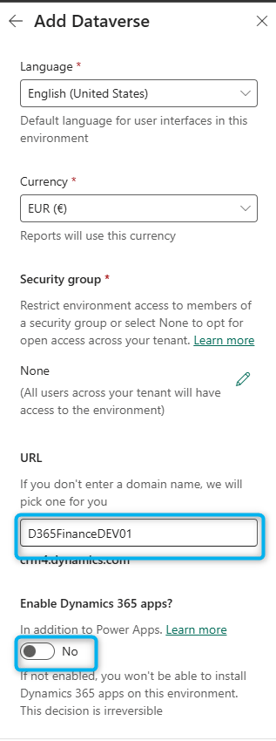
- Enable Add a Dataverse datastore.
- Set Security group to None.
- Enable Enable Dynamics 365 apps.
- Under Automatically deploy these apps, select None.
Creation takes a couple of minutes to complete.
Starting a new environment from Manage → Environments.
Environment basics — with the Dataverse datastore enabled and the security group set to None.
Dynamics 365 apps enabled, with automatic app deployment left at None.
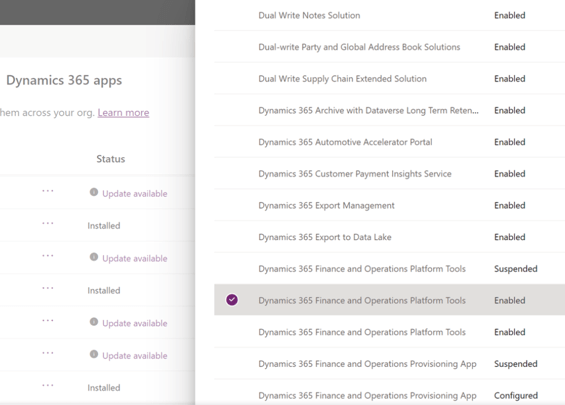
Step 2 — Install the required Dynamics 365 apps
Once the environment exists, open it and on the Resources card select Dynamics 365 apps, then Install app. Two apps go on, in order.
2a — Finance and Operations Platform Tools
Install Dynamics 365 Finance and Operations Platform Tools first — it provides the platform support for installing ERP-based applications and is a hard prerequisite for everything that follows.
If you see duplicates: When more than one license grants access to the app, you may see multiple entries. Pick any entry whose status is Enabled, select Next, accept the terms, and choose Install.
Wait for it to finish — the Status column flips from Installing to Installed when it is done.
Installing the Finance and Operations Platform Tools — wait for Status to read Installed.
2b — Finance and Operations Provisioning App
With the platform tools in place, choose Install app again and select the Dynamics 365 Finance and Operations Provisioning App. This delivers the finance and operations capabilities for Finance, Supply Chain Management, Project Operations, Human Resources, and Commerce. If duplicate entries appear, pick any with a status of Configured, select Next, then OK to open its configuration page.
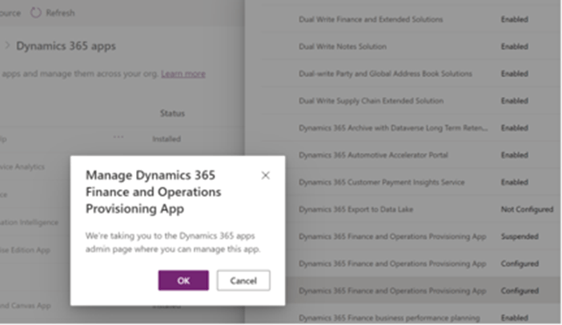
Selecting the Finance and Operations Provisioning App.
Step 3 — Configure the Provisioning App
On the Provisioning App configuration page, set three things:
- Enable Developer Tools for Finance and Operations — this is the one that matters. Check it to get a developer-enabled sandbox you can connect Visual Studio to and make X++ changes. Leave it unchecked and you get a standard sandbox or production environment instead.
- Enable Demo Data for Finance and Operations — check this to deploy the standard Contoso demo data alongside your app.
- Select the version of the product to be installed — choose any supported version that fits your requirements.
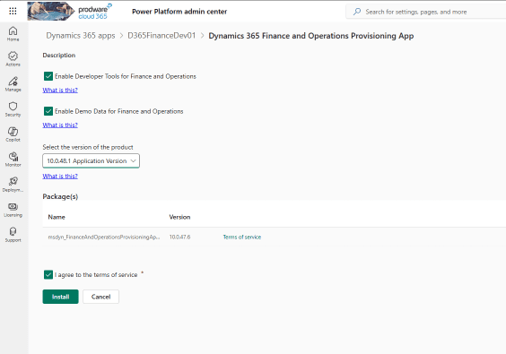
The Provisioning App configuration — be sure to enable developer tools.
Don’t skip the checkbox: “Enable Developer Tools for Finance and Operations” is what makes the environment connectable from Visual Studio. Miss it and you’ll have provisioned a sandbox you can’t write X++ against.
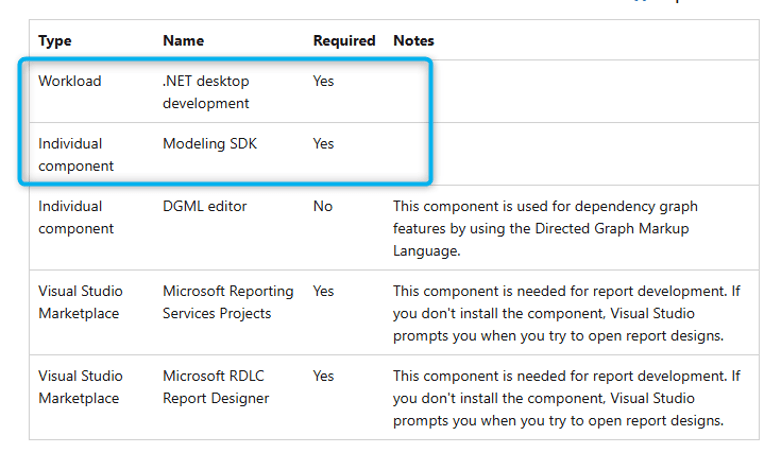
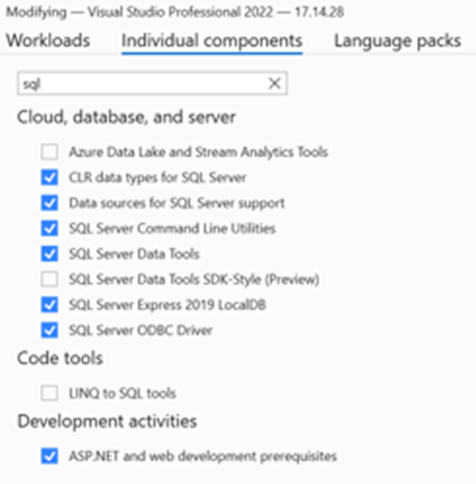
Step 4 — Install and configure Visual Studio 2022
Install Visual Studio 2022 Professional or Enterprise with the required components — either on your local machine or on a dedicated Azure VM. Microsoft’s documentation is the authoritative reference for the exact workloads and the Power Platform Tools extension:
Install and configure development tools — Microsoft Learn
Visual Studio 2022 setup with the required components.
The Power Platform Tools extension installed in Visual Studio.
Step 5 — Connect Visual Studio to the UDE environment
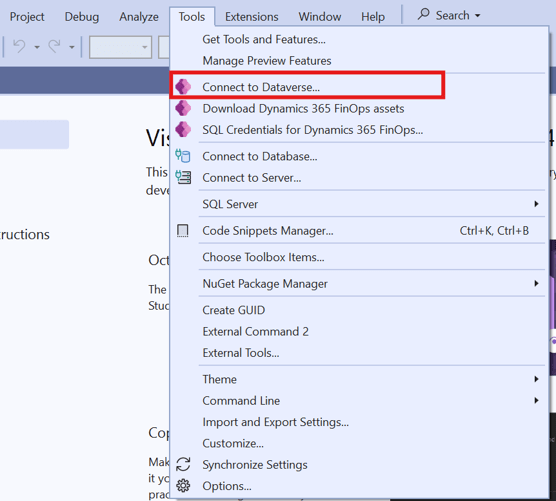
With the Power Platform Tools extension installed, you can point Visual Studio at your developer-focused environment. Launch Visual Studio, open the Tools menu, and choose one of:
- Connect to Dataverse — downloads assets only if they haven’t been downloaded before.
- Download Dynamics 365 FinOps assets — always downloads a fresh copy.
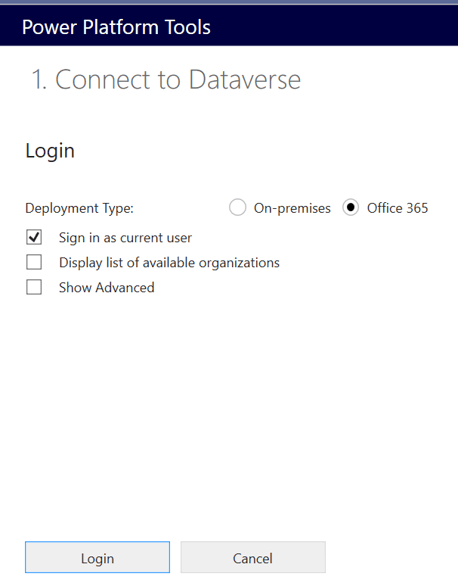
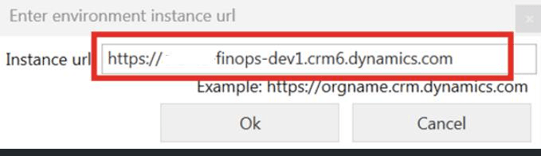
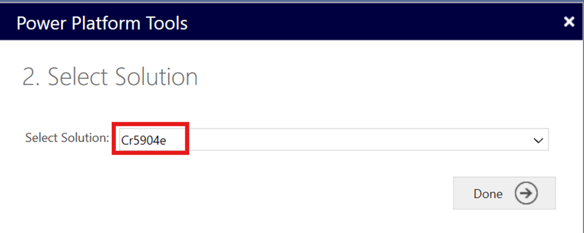
Pick your options and select Login. If you need a different account or environment, don’t reuse the signed-in user — enter the credentials for the developer account that has access to the online environment. Choose an available solution, select Done, then find and connect to the sandbox environment created for online development.
Connecting to Dataverse from the Tools menu.
Selecting the target online environment.
Choosing an available solution to work against.
Signing in with the developer account.
Connected to the developer sandbox environment.
Step 6 — Download and install the F&O extension and metadata
The first time you connect to the PPAC environment, the metadata downloads automatically — no manual trigger needed.
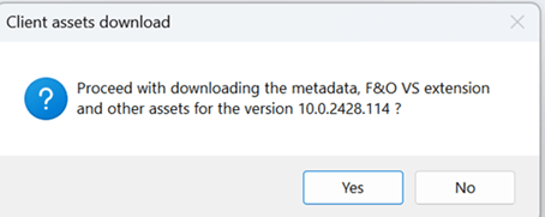
Metadata download kicking off on first connection.
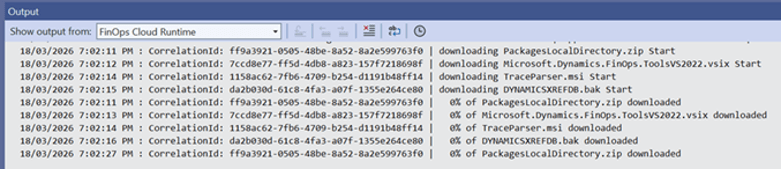
Asset download in progress.
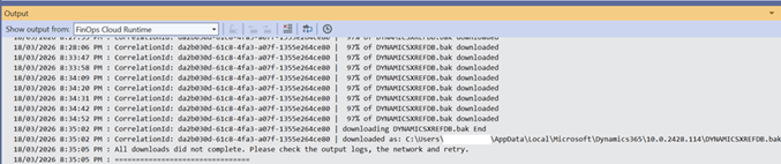
Download continuing to completion.
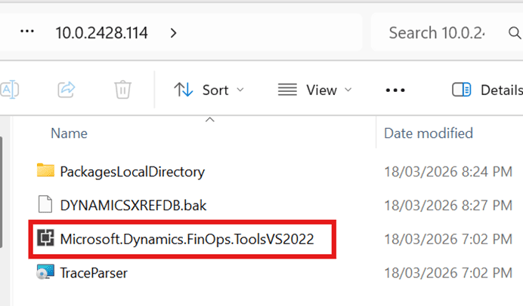
Next, install the finance and operations extensions from the unzipped path of your downloaded development tools and files.
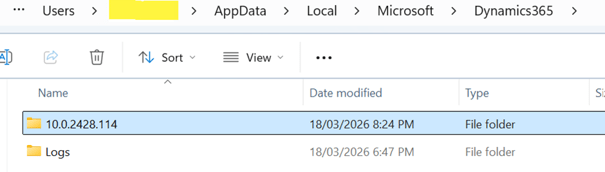
Locating the unzipped development tools.
Running the finance and operations extension installer.
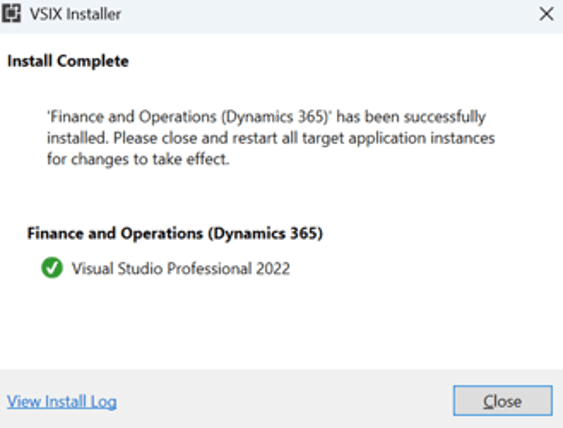
Extension installation underway.
Safe to ignore: During this process you may see a popup, or a message resembling a sample configuration. Both can be safely ignored — they don’t block the setup.
An informational popup that can be ignored.
A sample-configuration message — also safe to dismiss.
Now organize the local file structure. Create new folders for the AOS service and your custom models — for example, DevBoxesAOSService and DevBoxesCustomModels.
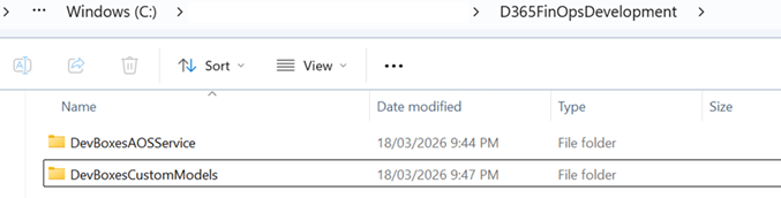
Creating the AOS service and custom model folders.
Cut and paste the PackagesLocalDirectory folder from the downloaded files into the appropriate location under your new folder structure.
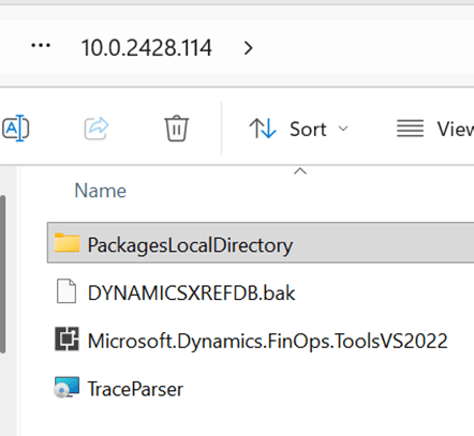
Moving PackagesLocalDirectory into the new structure.
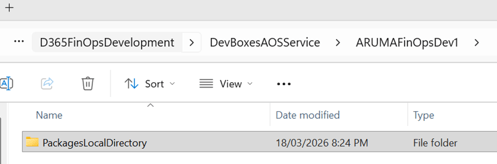
The relocated packages directory in place.
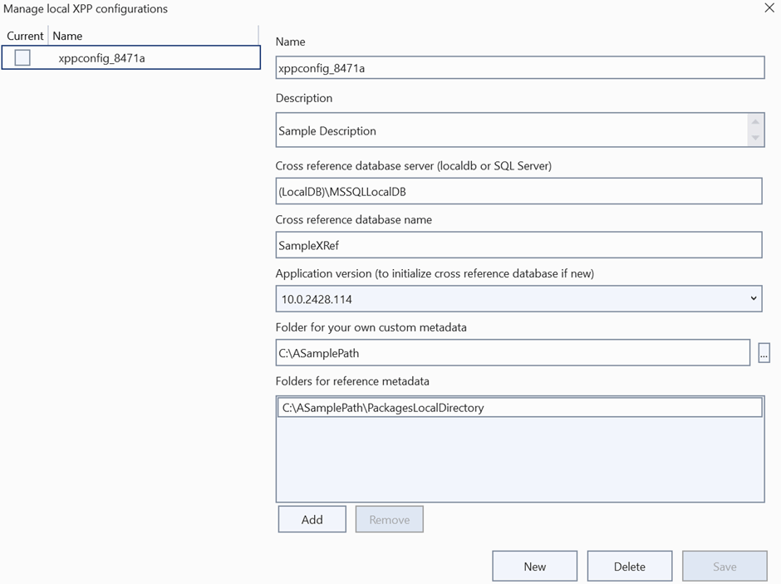
Update the configuration files so the paths point to your new AOS service and custom model folders (DevBoxesAOSService and DevBoxesCustomModels), then save your changes.

Editing the configuration files to reference the new paths.
Finally, open the AOT (Application Object Tree) to confirm the configuration is being picked up correctly.
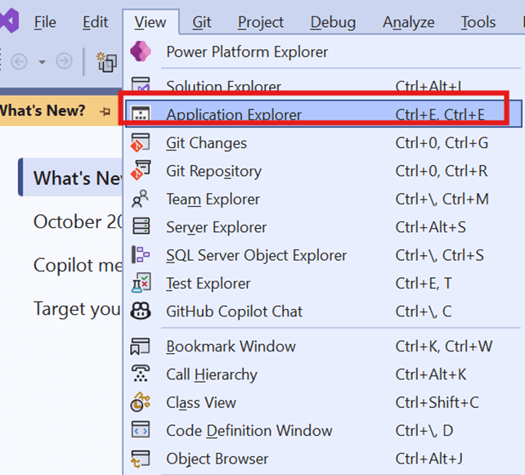
Opening the Application Object Tree to verify.
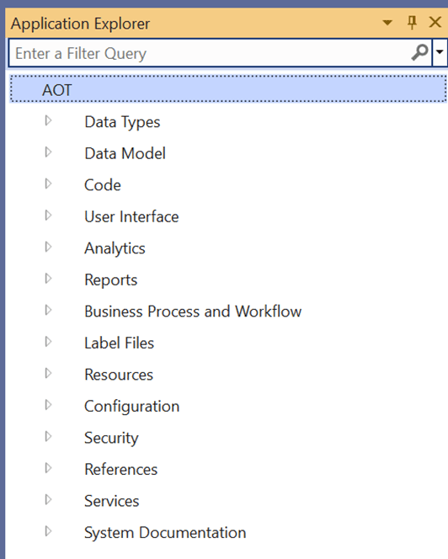
The AOT loading models from the configured paths — configuration confirmed.
Step 7 — Connect to your Git repository
In Visual Studio, use Clone Repository to connect to Git.
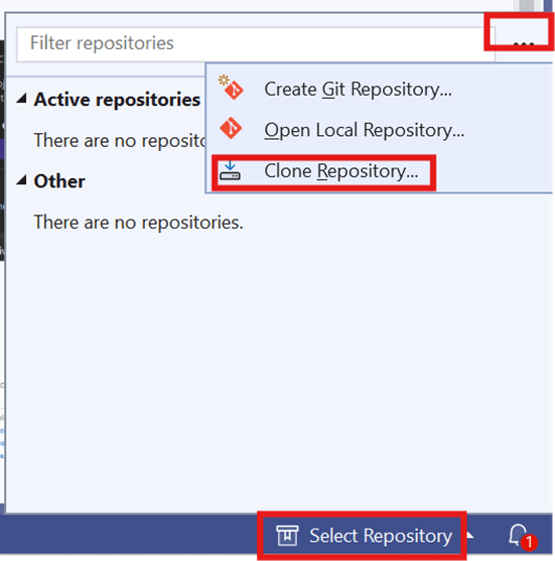
Cloning the repository from within Visual Studio.
Provide the repository URL and credentials as required.
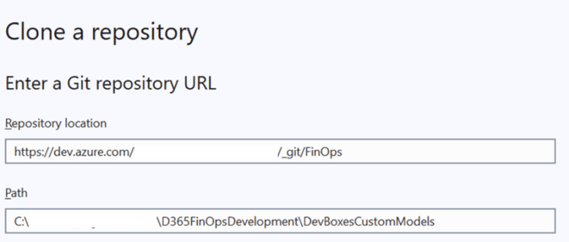
Entering the repository URL and credentials.
Open Manage Branches and check out the branch you need.
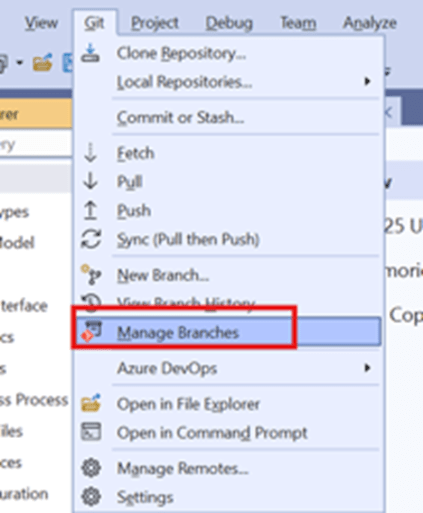
Managing branches in Visual Studio.
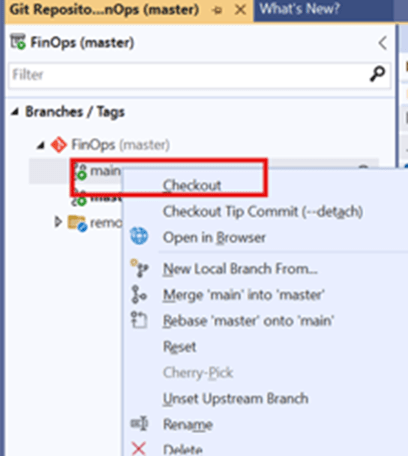
Checking out the required branch.
Then create a local repository/workspace as needed for your development.
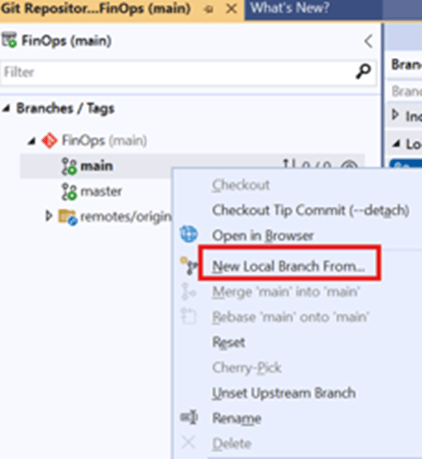
Setting up the local repository/workspace.
Step 8 — Deploy your models to the UDE
With code in place, make sure the required models build successfully in Visual Studio, then deploy them to the target online environment.
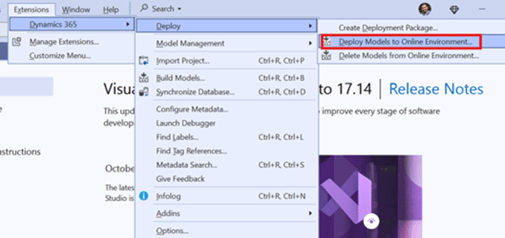
Deploying the built models to the online UDE environment.
Wrapping up
That is the complete journey: a Dataverse environment in PPAC, the Platform Tools and Provisioning App installed, developer tools switched on, Visual Studio 2022 connected, metadata pulled down, source wired to Git, and models deployed. From here you have a modern, Power Platform-native X++ development loop — no legacy dev box required.
A couple of things to remember: The “Enable Developer Tools” checkbox in Step 3 is the linchpin of the whole setup, and your folder/config paths (DevBoxesAOSService, DevBoxesCustomModels) must line up exactly or the AOT won’t load. Get those two right and the rest is smooth sailing.
Questions about a specific step — VM sizing, branch strategy, or deployment errors? That’s usually where the interesting conversations begin.

Leave a comment